
How To Apply Jamberry Nails
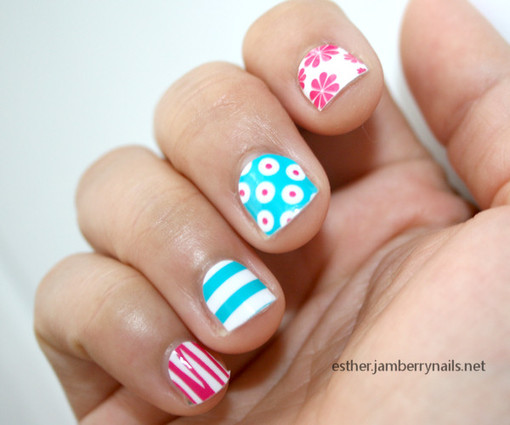
I'd like to show you how to apply Jamberry Nail Shields. This tutorial was made on my first time use of Jamberry so I am sorry for the imperfections shown on the photos.
Get the supplies ready first. You'll need rubbing alcohol/polish remover, nail file, cuticle pusher, sharp small scissor, hair dryer, nail buffer block, Jamberry nail shields, and the instruction available on the back of the nail shields.
Step 1 - Clean The Nail
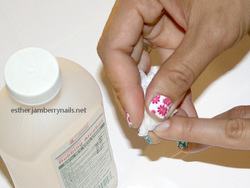
Use alcohol or polish remover with cotton ball or nail wipe to clean your nails. I like to clean one nail at a time and apply a shield right away. That way I will make sure the nail is clean before applying the shield.
Step 2 - Buff The Nail Bed
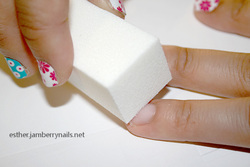
To prepare the nail bed for optimal result, buff with the nail buffer lightly to remove the shine. Then, push back cuticle.
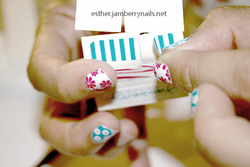
Step 3 - Match Nail And Shield
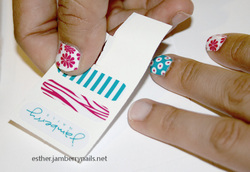
Match nail (finger or toe) to the nail shield that best fits. You want the shield that is smaller so it won't touch the cuticle area. If the shield cover the cuticle it won't stay long.
Step 4 - Cut And Peel
Cut it to the size you need. When peeling the shield, make sure you touch only the very edge of the shield that will be trimmed to minimize oil or dirt on the adhesive. You can also use a tweezers. But I find using hand is easier.
Step 5- Dry And Press
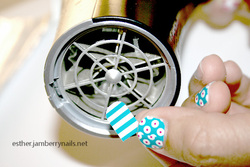
Warm it with a blow-dryer with 10-15 seconds or until soft and flexible. I recommend warming to 20 seconds.
When warm, press the shield onto the nail. Apply firm pressure around the edge to adhere the shield to the nail. Use cuticle pusher to seal the shield around the cuticle.
This is a very important step so repeat twice or 3 times to ensure long-lasting application.
When warm, press the shield onto the nail. Apply firm pressure around the edge to adhere the shield to the nail. Use cuticle pusher to seal the shield around the cuticle.
This is a very important step so repeat twice or 3 times to ensure long-lasting application.
Step 6 - Trim And File Shield

Trim the excess shield with scissors and file off remaining shield using a downward motion to remove excess.
Step 7 - Apply Heat And Pressure
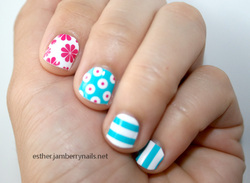
Apply more heat and pressure to the shield. Repeating this step several times helps create a tight seal to the nail surface and increases wear time.
I would do this twice before I move on the next one. No top coat needed. You're ready to go.
I would do this twice before I move on the next one. No top coat needed. You're ready to go.
Total time needed for my first application is about 30-40 minutes (my guess since I didn't see the clock). I am sure it will be faster and easier next time.
If you are interested in trying one you can purchase it at my store esther.jamberrynails.net. It's on sale now. If you buy 3 Get 1 Free.
Read the full Jamberry Nails tutorial and review on my blog Esther's Nail Corner.
If you are interested in trying one you can purchase it at my store esther.jamberrynails.net. It's on sale now. If you buy 3 Get 1 Free.
Read the full Jamberry Nails tutorial and review on my blog Esther's Nail Corner.
